ESXi常见问题处理
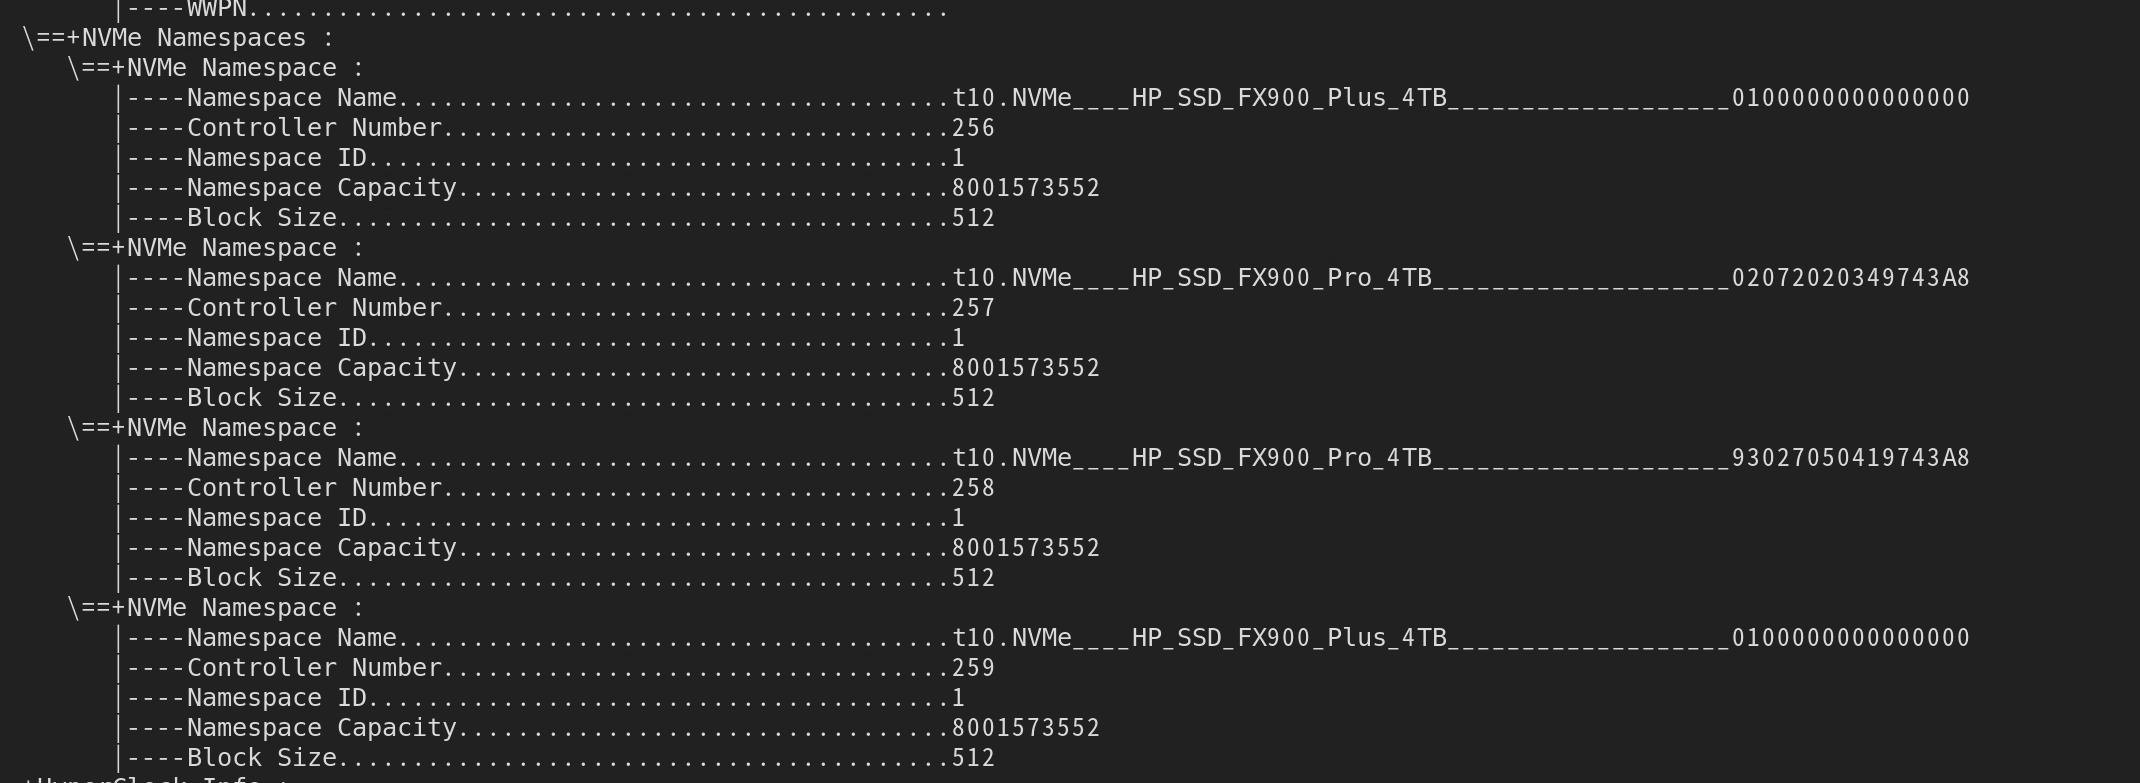
EUI64 冲突
磁盘序列号冲突

nvme id-ns /dev/nvme0n1
nvme format /dev/nvme0n1 -n 1
# nvme format /dev/nvme0n1 -n 4358836543481126
# 16 位数字
Unable to boot system, won't mount because of missing partitions because of "nvme nvme1: globally duplicate IDs for nsid 1"
磁盘分区
磁盘
查看分区表
重建分区表
查看磁盘
# List all Logical Devices known on this system with device information
esxcfg-scsidevs -l

# Filter Logical Devices by display name and vendor
esxcfg-scsidevs -l | egrep -i 'display name|vendor'

# (compact)
# List all Logical Devices each on a single line with limited information
esxcfg-scsidevs -c
启动报错
Failed to verify signatures of the following vib(s)
在 BIOS 中关闭 Security boot 就可以解决
- Jumpstart plugin late-filesystems activation failed Logs are stored on non-persistent storage. Consult product documentation to configure a st*** log server or a scratch partition.
try skipping it by adding jumpstart.disable=late-filesystems in the boot options (SHIFT+O on boot)
(53/189) for the SMP_BootAPs module
The KVM is a TrendNet PS/2 KVM and there was a USB->PS/2 adapter on it. Once that was removed and a standard USB keyboard attached (monitor still from KVM), the system booted right into the installer and completed setup with no trouble.
尝试:先关闭超线程进行安装
the solution is really simple, go to bios and disable the hyper threading first, you will able to get back to ESXi host without hyper threading.
Then, set VMkernel.Boot.hyperthreadingMitigationIntraVM = false (don't set the wrong one), esxi will use SCAv2 after reboot, then restart.
After that, go to bios enable hyper threading, the esxi should be able to start without CVE-2018-3646 warning now